Guide on Connecting Your DVD Player to Your TV Using Red, White, & Yellow Cables
This post provides a comprehensive guide on how to efficiently and correctly connect your DVD player to your TV using the red, white, and yellow cables, commonly referred to as RCA cables. While it may seem a daunting task for those not technologically inclined, it’s actually a simple process that anyone can do. The relevance of this blog post is immense especially for those who enjoy watching DVDs but are unfamiliar with the set up process or are having trouble with the connections. This step by step guide is designed to show you just how easy this task is.
Getting Started
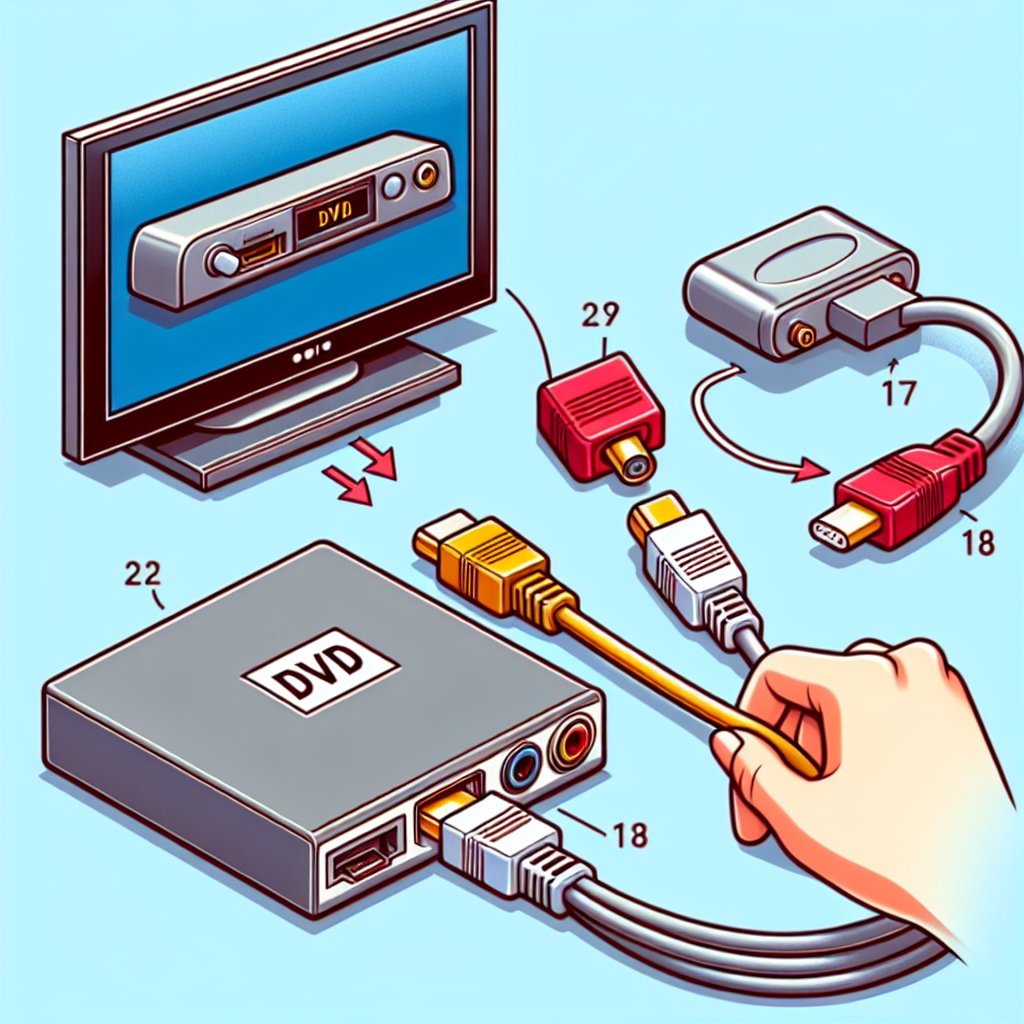
Before we delve into the steps, it’s important to understand the basics. The red, white, and yellow cables are color-coded for easy setup. The Yellow cable is for video, the Red cable is for the right audio, and the white cable is for the left audio. Their use makes the setup easy as each coloured end plugs into its matching coloured port on both the DVD and TV.
What You Will Need
- DVD Player
- TV
- Red, White, and Yellow RCA Cables
Step-By-Step Guide
- Ensure that both your TV and DVD player are switched off. This is to protect both your devices and yourself from any electrical mishaps.
- Locate the Red, White, and Yellow ports on your DVD player. They should be grouped together and colour coded for easy identification. If your DVD player has multiple ports of each color, they will usually be grouped together and labelled as ‘AUDIO OUT’ and ‘VIDEO OUT’.
- Once the ports on the DVD player have been identified, plug in the RCA cables. Yellow end into the Yellow port, Red end into the Red port, and White end into the White port.
- Now, locate the Red, White, and Yellow ports on your TV. They should again be grouped together and colour coded for easy identification. If your TV has multiple ports of each colour, look for the ones labelled ‘Audio IN’ and ‘Video IN’.
- Once the ports on the TV have been identified, plug in the RCA cables. Yellow end into the Yellow port, Red end into the Red port, and White end into the White port.
- Switch on both your TV and DVD player. From the TV remote, Search for something like ‘source’ or ‘input’ button. This will present a list of input channels that your TV can receive signals from.
- Choose the correct input channel that corresponds to where you’ve plugged in the RCA cables. This might vary from one TV manufacturer to another but is usually labelled ‘AV’ or ‘Video’. Your DVD screen should now be displayed.
In conclusion, connecting your DVD to your TV using RCA cables is a simple task that anyone can accomplish, regardless of their technological know-how. This guide provides an easy and detailed process to set this up, giving you more time to enjoy your favourite movies and less time struggling with technology.